


Medical prototyping is, in some ways, a departure from the traditional approach to prototyping. Simply by nature of the process, prototyping keeps a design open to change. Ideas can be tested, architectures explored, and every decision revisited, with each iteration informing what gets built next.
Think of the usual paths a prototype can follow. A proof-of-concept model might establish the basic premise of an idea, often with nothing fancier than plain-old corrugated cardboard. From there, form and function can develop separately: a looks-like model explores the shape and feel of the product, while a works-like model tests the core technologies and functions without ever needing to resemble the finished product. Neither has to resolve the entire design, and the two eventually converge as the final product takes shape.
In medical devices, though, the end-use application can dictate the final material selection and manufacturing process long before the actual design is finalized. Consider the following matrix of requirements for a medical device:
| Considerations | Questions |
|---|---|
| Patient contact | Which tissues or fluids will the component contact, directly or indirectly? What is the frequency and duration of exposure, and which biological risks need to be evaluated? |
| Cleaning and sterilization | Which cleaning agents and sterilization methods will be used? For reusable components, how many reprocessing cycles must the material withstand? |
| Cleanability | Does the geometry include narrow channels, crevices, or mating surfaces that could retain biological material? Can those surfaces be accessed for cleaning, or does the assembly need to come apart? |
| Material formulation | Will the prototype use the intended production resin grade, including its fillers, colorants, and additives? If the formulation differs, could that affect the properties being evaluated? |
| Manufacturing process | How representative is the prototype process of production? Could differences in processing, surface characteristics, or manufacturing residues affect performance or biocompatibility? |
| Applicability of test results | Which conclusions need to carry forward to the finished device? If the material, process, or geometry changes, what evidence (if any) will establish whether earlier results still apply? |
These considerations are what make medical prototyping a different exercise. The usual logic still applies, but more decisions need to be considered earlier in the process, and nowhere is that more true than with plastic components.
A machined metal part is often made the same way in prototyping as in production. A 3D printed plastic part, by contrast, can differ from its molded counterpart in resin grade, surface finish, or material composition, which are exactly the properties that biocompatibility and sterilization testing evaluate. That's why medical teams often move to production-grade resins and molded parts much earlier than they would for a consumer product.
With that in mind, here are some practical considerations for prototyping plastic medical components.
Lesson #1: Define the end-use requirements before the first engineering prototype.
Before choosing a process or material, start with two questions: 1) what will this part do, and 2) how close will it get to the patient? Material options narrow considerably as a part gets closer to the patient. ISO 10993-1 frames this by the type of contact (skin surface, internal tissue/blood, or implant) and its duration (up to 24 hours, 30 days, or longer), with repeated uses counting toward the total.
Medical-grade resins are a good starting point, since suppliers can match the resin with biocompatibility data and keep the formulation fixed. Polycarbonate, polypropylene, and PEEK are common choices.
The device's risk classification (Class I, II, or III) is a separate consideration that sets the regulatory pathway and how much testing the design must support. The point isn't to pick the final material on day one, but instead to know which requirements are fixed so early iterations don't head in a direction the final device can't follow.
Lesson #2: Match the prototype to the question you need it to answer.
Not every prototype needs to be production-intent, but problems arise when results from that part are treated as evidence for the finished device. 3D printed parts are generally a great, inexpensive way to check fit, ergonomics, or assembly. A printed part, however, says little about whether the molded counterpart will hold its tolerances or stand up to sterilization, repeated cleaning, or the testing behind a 510(k). Because material properties heavily affect FDA clearance testing, any result that needs to carry forward should come from production-grade resin and a production-intent process. For many medical teams, that means moving to low-volume injection molding early. One rule of thumb from Xometry's team is that past roughly 50 parts, molding is usually the better path.
Lesson #3: Design for molding early.
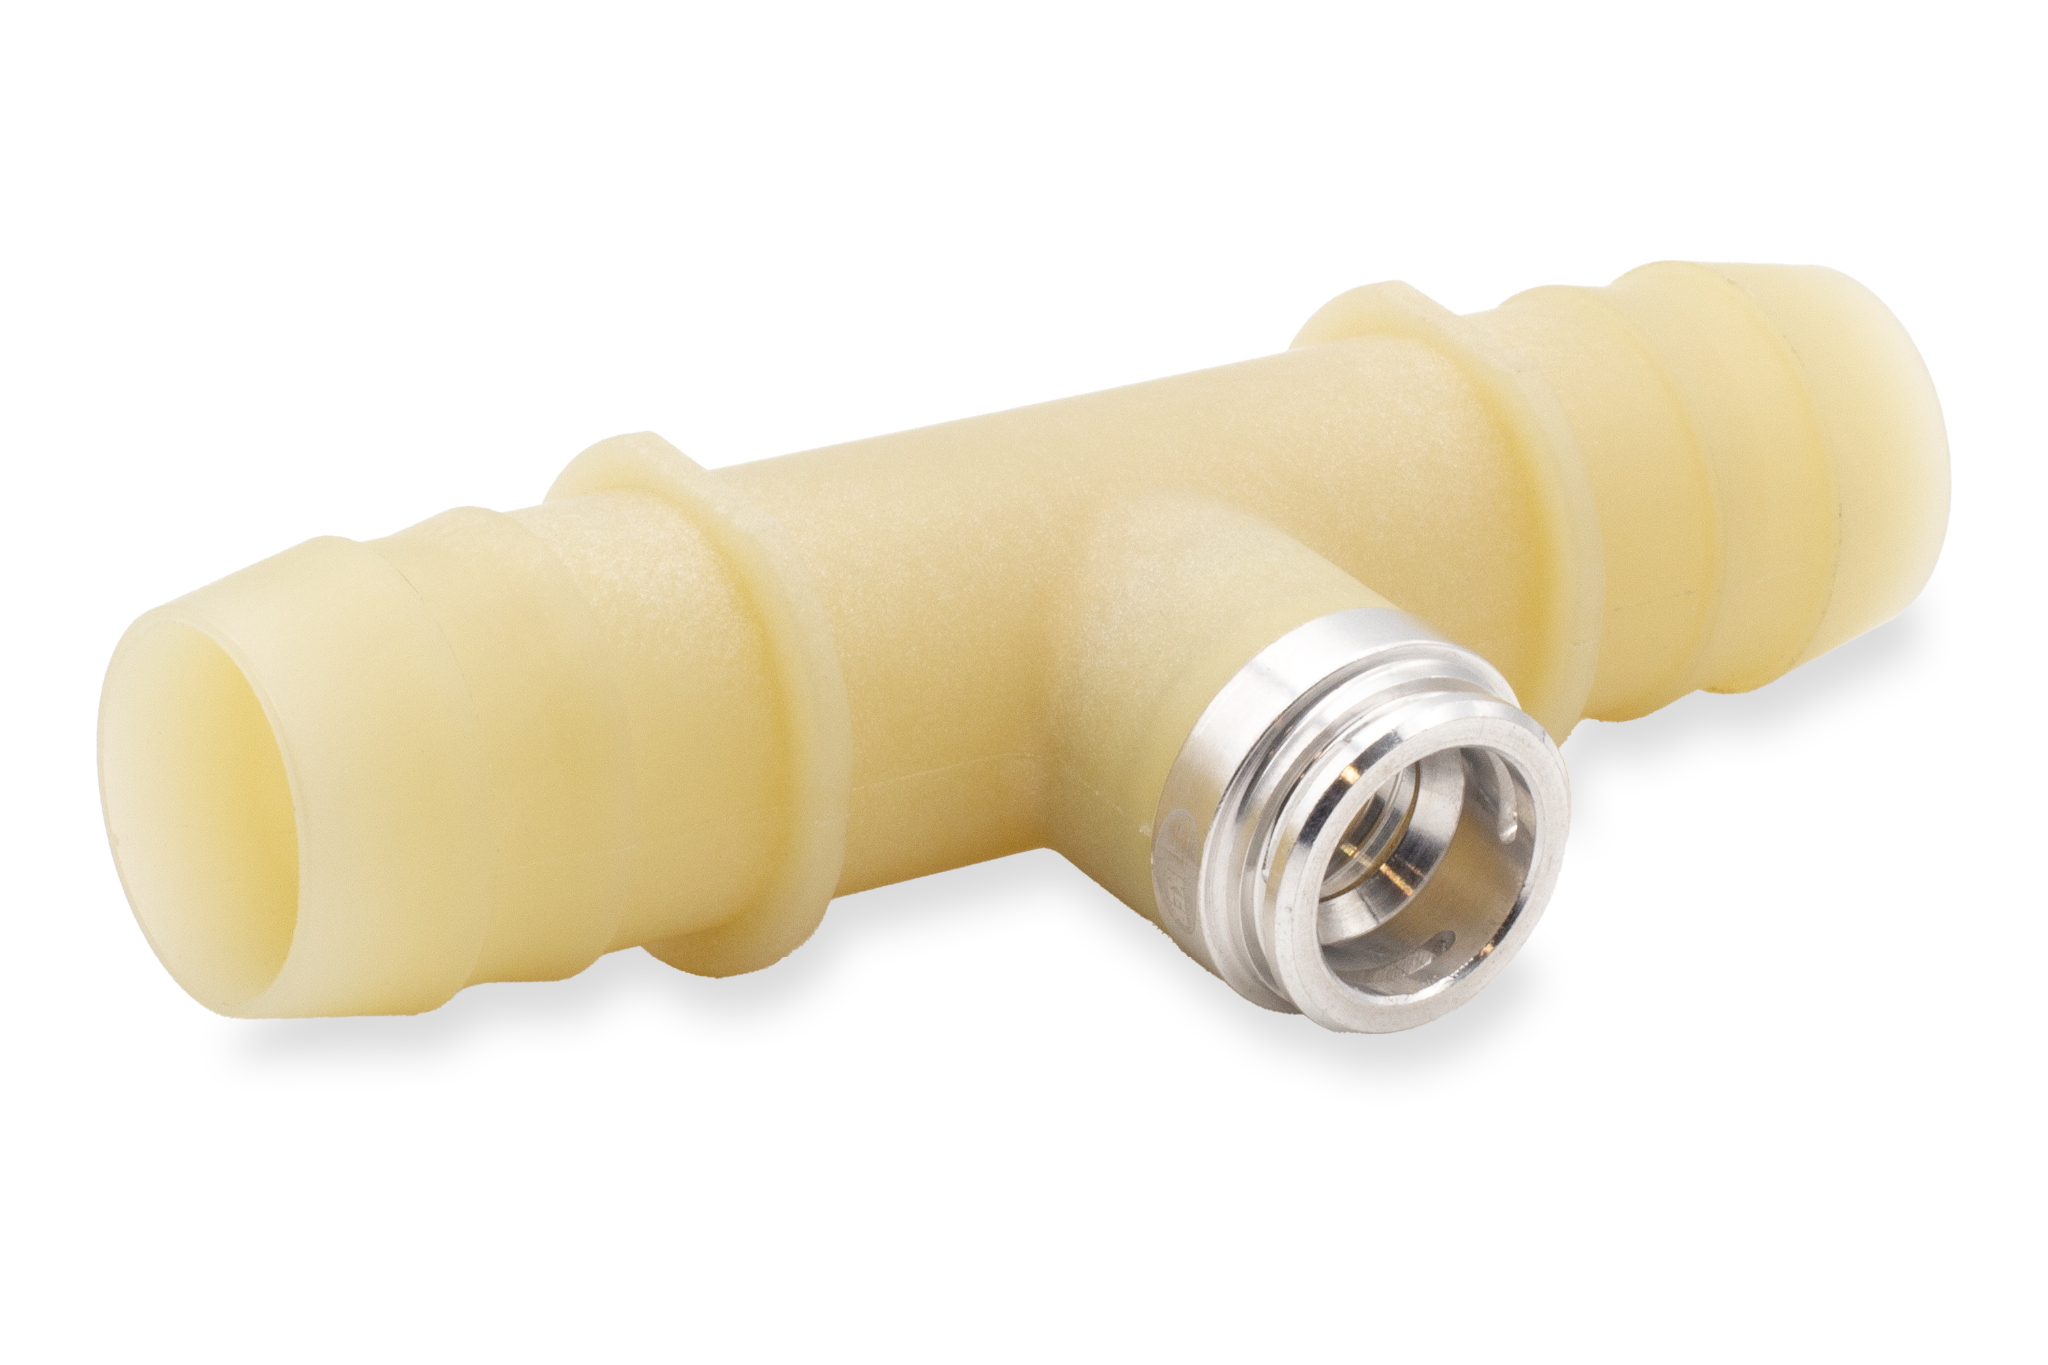
Medical teams often start with 3D printing, but will design parts for injection molding from the beginning. It's not uncommon for a program to spend time and resources refining a design, only to find it can't move to the next phase of manufacturing. The most common DFM mistakes are among the first lessons of molding: draft and uniform wall thickness. Neither is required for a 3D printed part, which is why both are easy to miss until tooling. For medical parts, cleanability is also a unique consideration. Part geometry and crevices come into play since bacteria can hide in tight corners and recesses.
Lesson #4: Choose a manufacturing partner who can support the next phase.
A prototype supplier and a production supplier don't have to be different companies, but can often end up that way by accident. In medical manufacturing, the prototype tool and process need to carry forward. For example, respiratory and vascular components may need to be prototyped and packaged in an ISO Class 7 cleanroom, and material traceability has to hold from resin to finished part.
It's worth asking a partner early whether they can support the program into the next phase, and whether the tool they build can be validated later. Look for ISO 13485 certified molders as parts move toward production.
This guide was developed with input from Kyra Stawson, Solutions Engineering Manager for Tooled Processes, and Jesse Becker, Enterprise Sales Leader, at Xometry, drawing on their experience supporting medical device programs from prototype through production.
Xometry supports medical programs from prototype through production, including ISO 13485-certified manufacturing. Get an instant quote to start your next project.

